Does your school need its own Youtube with data hosted in Sweden? Set one up!
 Micke Kring
·
·
18 min read
Micke Kring
·
·
18 min read
A number of organizations and municipalities have, since the Schrems II ruling, banned transfers of all forms of personal data to YouTube, Facebook, Twitter and others, because data must not be stored in the US. This causes problems, since in the school world we need to rely on communicating via video. Open House, School Search, and graduations are some examples of previously physical events that are now digital. Unfortunately not everyone has their own video services available, so here I want to show a simple video solution that might work for you, cheaply and with data in Sweden.
At Årstaskolan we have run our own video solution for almost 12 years at plejtv.se (formerly Kunskapshubben) following this model — and here I want to document how I set up EduTV. The last time I made a similar post was 2015 with “Strömmande video på din WordPress-sajt” (Streaming video on your WordPress site) — and some things have happened since then.
What do we want to achieve? Our own YouTube?
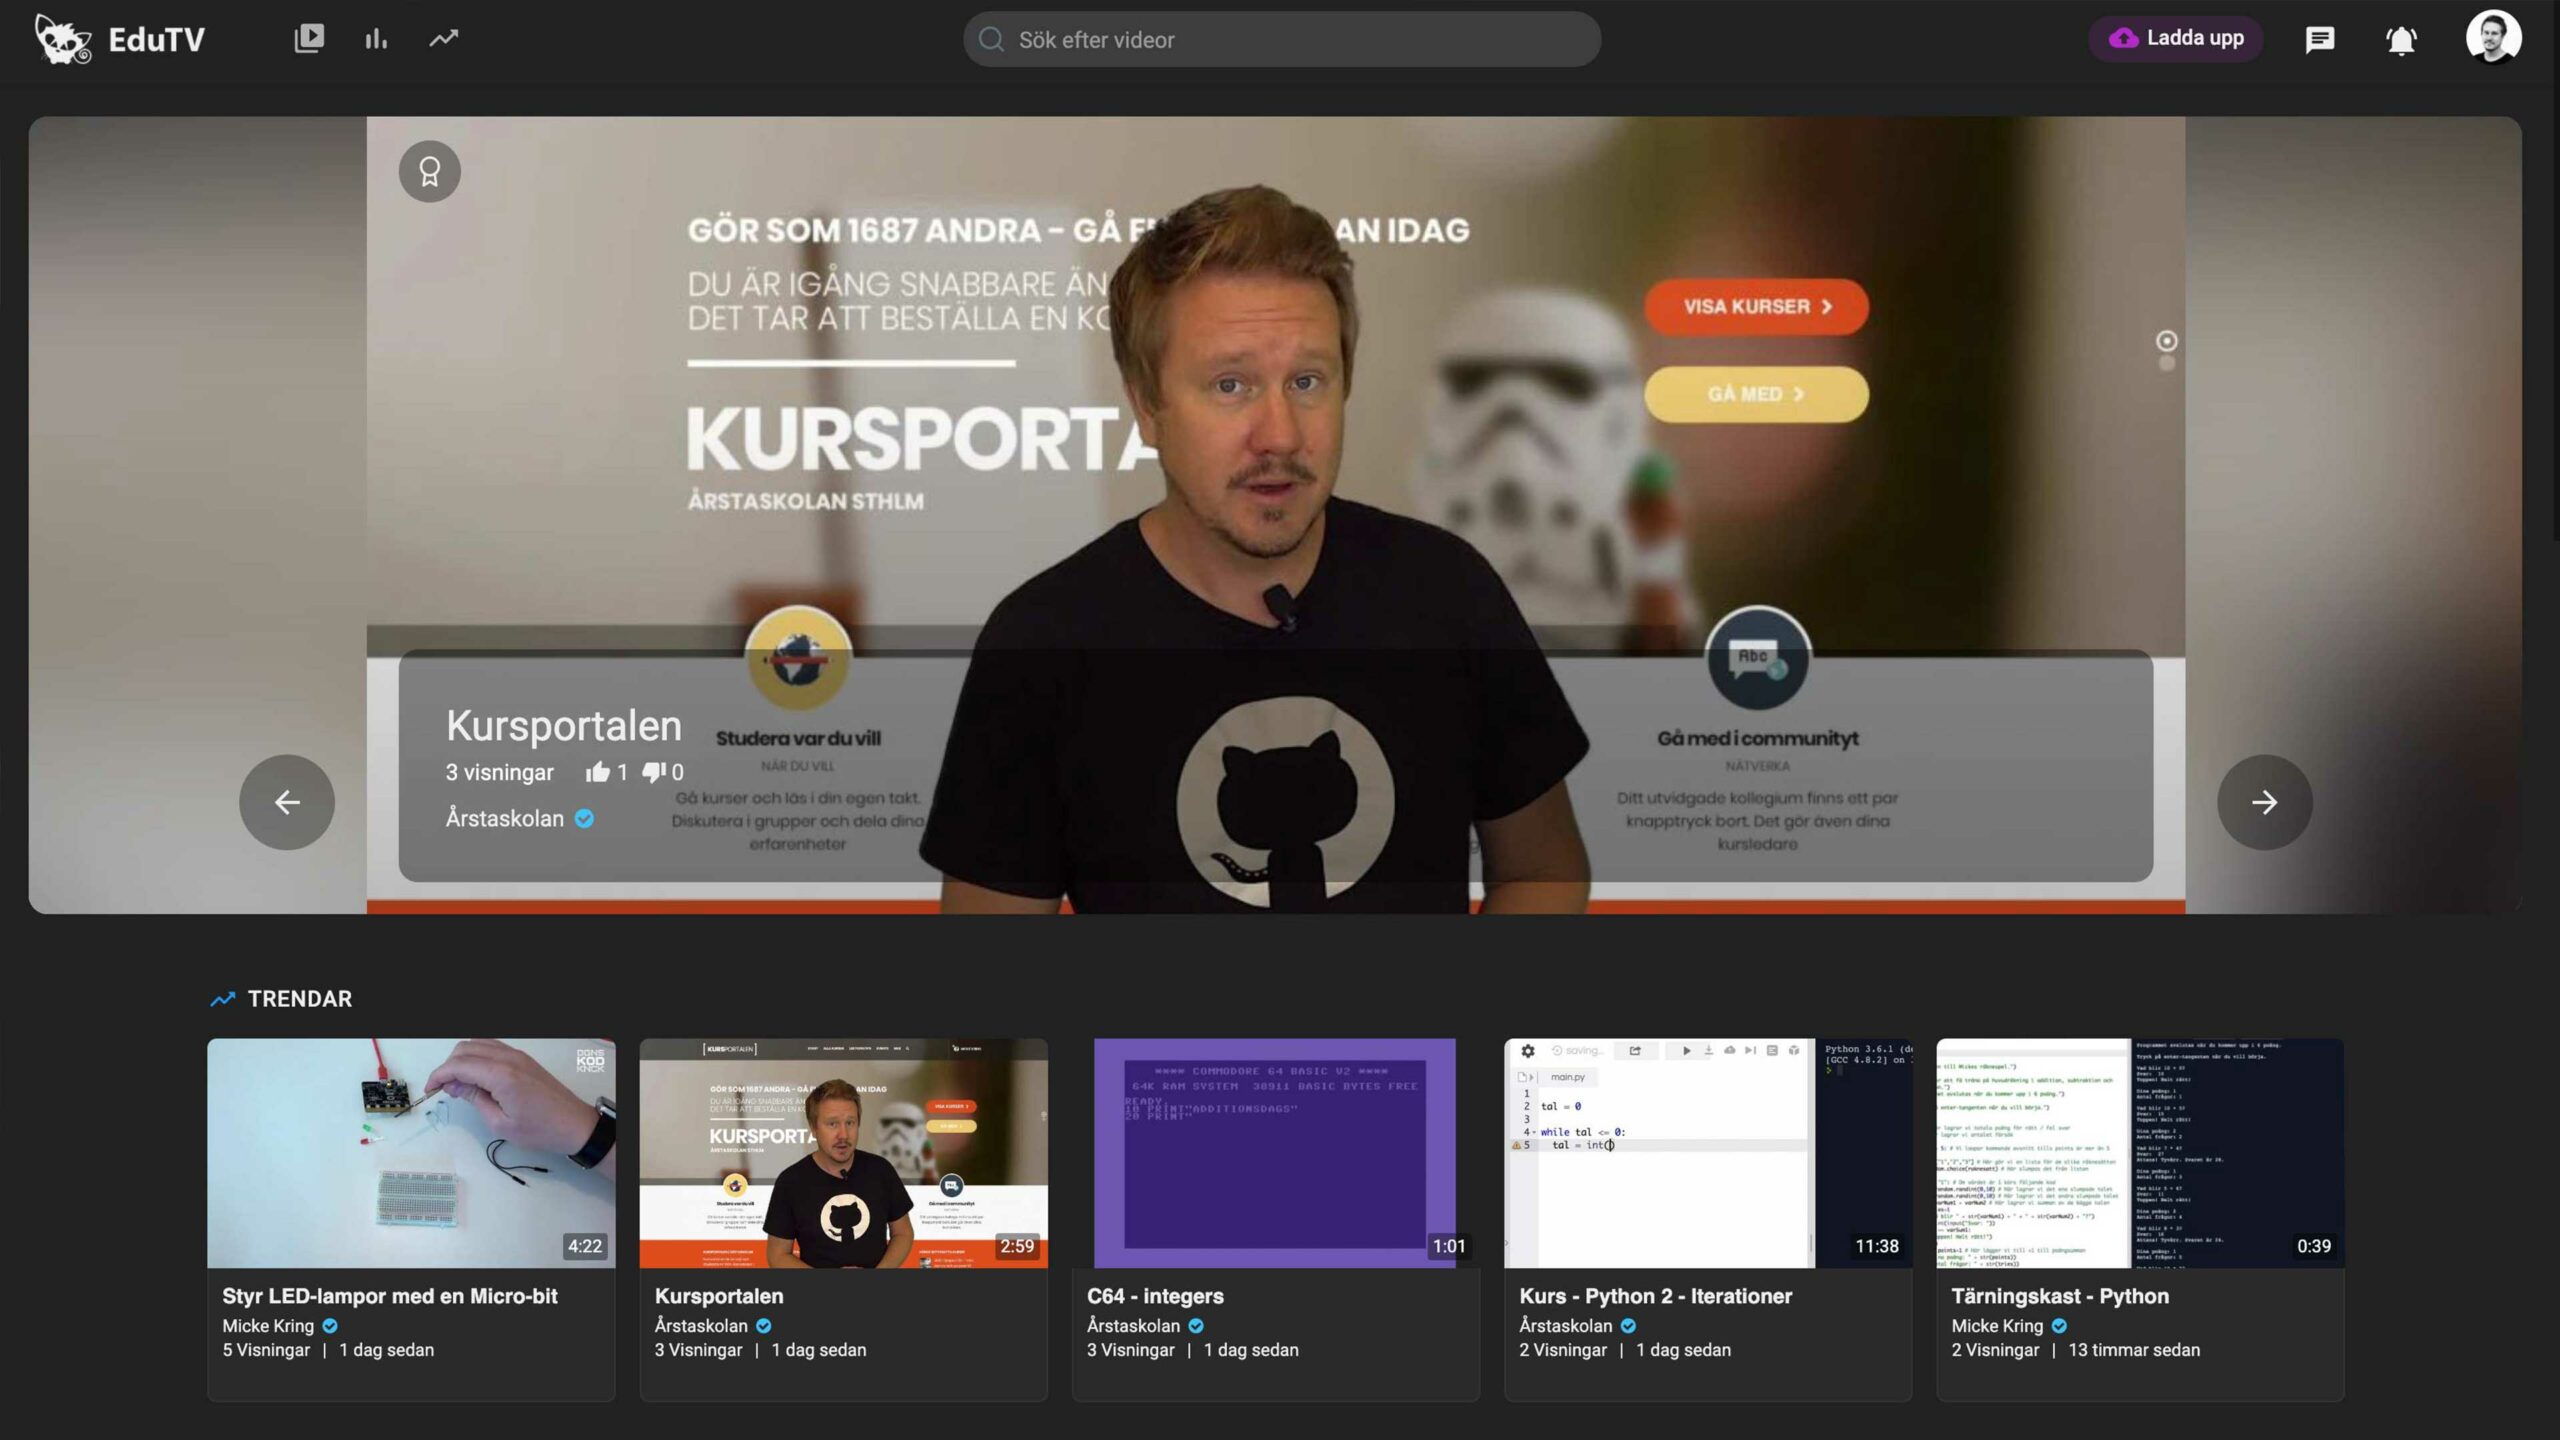
In short, this post is about setting up the basics of a web server with the ability to convert video and a YouTube-clone script called Playtube (costs $99). Playtube has (pretty much) all the features YouTube has: automatic conversion to various formats, embedding, sharing, statistics, mobile support, and so on. This runs on a small VPS for a couple hundred SEK per month. All data in Sweden. You then get a site like YouTube in miniature, where users can upload video from computers, tablets and phones, which you can then, for example, embed on the school website — or enjoy directly on your site.
Of course the server this site is hosted on is built the same way, which means the videos in this post come from my site, converted by my server.
Requirements
Basic knowledge
To set this up you need at least basic knowledge of how to manage a Linux server and a web server. Most people who are a bit handy with IT should be able to handle this — any person on your IT team or the school’s IT technician can probably do it. You can almost always Google any problems you run into, or ask a friend. I only have basic knowledge myself — and that gets you pretty far. In this post I won’t go through every single step in detail, but you can use it as a foundation for how to set up a server with the necessary web server components and FFMPEG for converting video.
VPS or another Ubuntu server
You need a VPS or your own server running Ubuntu, which is what I use in this example.
Domain name and SSL certificate
You’ll of course need a domain name and an SSL certificate too; in my case I’ll set up the YouTube-clone on https://edutv.se
Playtube
You need to buy the Playtube script if you want to set it up like in this example. Naturally you can instead use this server to install WordPress and the free plugin “Video Embed & Thumbnail Generator” and build something custom. This walkthrough gives you the server with all prerequisites.
Contents
1. Server
We will set up an Ubuntu 16.04 LTS server instance at GleSYS, which I’ve used for a long time. On that server we’ll install nGinx, PHP and MySQL so that we have a ready web server. In addition we must install FFMPEG which handles conversion of video into different formats. You can of course choose whichever VPS provider you like, as long as you know your data will be where you want it — e.g. in Sweden. Another option is if you have your own physical servers you can use.
VPS
The first thing we do is create a new server instance at GleSYS or your chosen provider. I choose Ubuntu 16.04 LTS 64-bit with a datacenter in Stockholm. The nice thing about a VPS is that we can increase or decrease resources as needed, so I start with 1 CPU core, 1024 MB RAM, 10 GB disk and 10 Mbit/s bandwidth. We can expand this later as your site requires more resources.

Video conversion requires a fair bit of CPU, so the more CPU you have, the faster and more concurrent conversions and uploads you can handle. Same goes for bandwidth: the more views you have, the more bandwidth is required. But start small and scale up. The server we spin up here will cost 144 SEK excl. VAT per month.
Another great thing about a VPS is that you can drag sliders to increase memory, CPU and the like and make changes instantly without having to reboot.
2. Install the web server and settings
Now that our server is up and running it’s time to make our settings and install the software we need, such as the web server and related components.
The terminal and Nano

Terminal in macOS on my computer[/caption] I use Terminal in macOS to connect to my server, so if you’re on Windows you’ll need to find something similar for Windows or use the HTML5 version via GleSYS. If you’ve never used Nano as a text editor in Linux, here are some useful commands.
Ctrl + x = Exit and save
Ctrl + k = Delete the line you’re on
Ctrl + w = Search. Type your search string + enter
Ctrl + y = Scroll up one page
Ctrl + n = Scroll down one page
Arrow keys = move around as usual
New user and SSH
We start by opening the terminal and SSHing into our server as root.
ssh root@your-server-ip-address
The first thing we do is create a user so we don’t have to (and shouldn’t) log in as root. I’ll create a user named vpsuser. Set a strong password for that user when prompted.
adduser vpsuser usermod -aG sudo vpsuser
Then we open the SSH configuration file with nano (or your favorite editor)
nano /etc/ssh/sshd_config
Find the following and change to the values below
Port 1256 (or whatever port you want)
PermitRootLogin - no
Then restart SSH with
service ssh restart
Log out and log in again, but now as vpsuser (since we can no longer log in as root) and with our new port number.
ssh -p 1256 vpsuser@your-server-ip-address
We run some updates and install some basic programs.
sudo apt-get update && sudo apt-get upgrade
sudo apt-get install htop rsync ufw unzip
Web server - nGinx, PHP and MySQL
Now it’s time to install the software for our web server.
nGinx
sudo apt-get update && sudo apt-get upgrade
sudo apt-get install software-properties-common
sudo add-apt-repository ppa:nginx/stable
sudo apt-get update && sudo apt-get upgrade
sudo apt-get install nginx-extras
MySQL
sudo apt-get install mysql-server
Set a password for the MySQL root user.
sudo mysql_secure_installation
Validate password plugin - No
Remove anonymous users - Yes
Disallow root login remotely - Yes
Remove test database - Yes Reload privilege tables - Yes
PHP
sudo LC_ALL=C.UTF-8 add-apt-repository ppa:ondrej/php
sudo apt-get update && sudo apt-get upgrade
sudo apt-get install php7.4 php7.4-cli php7.4-common
sudo apt-get install php-pear php7.4-curl php7.4-dev php7.4-gd php7.4-mbstring php7.4-zip php7.4-mysql php7.4-xml php7.4-fpm php7.4-imagick php7.4-tidy php7.4-xmlrpc php7.4-intl
Firewall - UFW
Now it’s time to install our firewall.
sudo ufw status verbose
Here you should get a response that the firewall is inactive. If it isn’t installed you can do so with apt-get install ufw.
sudo ufw default deny incoming
sudo ufw default allow outgoing
sudo sed -i "s/ports=22\/tcp/ports=1256\/tcp/g" /etc/ufw/applications.d/openssh-server
It’s important above that we set our new port instead of port 22, which is the default. Otherwise we’ll lock ourselves out.
sudo ufw app list
sudo ufw allow OpenSSH
sudo ufw allow "Nginx HTTP"
sudo ufw allow "Nginx HTTPS"
sudo ufw allow ntp
Now we enable the firewall.
sudo ufw enable
SFTP
To be able to use an FTP client and upload our files later, we enable SFTP. We start by creating a secure password for the www-data user that already exists on the system
sudo passwd www-data
We open the passwd file
sudo nano /etc/passwd
Find the line
www-data:x:33:33:www-data:/var/www:/usr/sbin/nologin
and change it to
www-data:x:33:33:www-data:/var/www:/bin/bash Save when you’re done.
3. Test the web server
If everything has worked, we now have a web server with (as of publishing this post) at least nGinx 1.16, PHP 7.4, MySQL 5.7.
Now it’s time to test that it works.
We start by editing the configuration file for nGinx.
sudo nano /etc/nginx/sites-available/default
Remove everything there and paste in the following
server {
        listen 80 default_server;
        listen [::]:80 default_server;

        root /var/www/html;

        index index.html index.htm index.php;

        server_name _;

        location / {
                try_files $uri $uri/ =404;
        }

        location ~ \.php$ {
                include snippets/fastcgi-php.conf;
                fastcgi_pass unix:/var/run/php/php7.4-fpm.sock;
        }
        location ~ /\.ht {
                deny all;
        }
}
Save the file. Now we test whether nGinx finds any errors
sudo nginx -t
Hopefully you get a message that “test is successful”. Sometimes Apache is installed, so first we try to stop it
sudo service apache2 stop
Then we uninstall Apache
sudo apt-get purge apache2 apache2-utils
sudo apt-get autoremove
sudo update-rc.d nginx enable
and then we start nGinx
sudo service nginx start
Now go to the folder where our web files live
cd /var/www/html
Remove all files in that directory
sudo rm *
and then create index.php
sudo nano index.php
and add the following to that file and save.
<?php
phpinfo();
Now you can open your browser and enter the IP address of your server in the address bar. You should then be greeted with the following page as in the image below.

There’s a lot of information about our server setup here and now we know everything is working as it should. Congratulations! You now have a web server that you can host a bunch of websites on, for example by installing WordPress or similar. We finish by removing that file, since nobody needs access to it.
sudo rm /var/www/html/index.php
4. Install FFMPEG
Now that the web server part is finished, it’s time to install the software on the server that handles your video files. FFMPEG is the software that allows your files to be converted into different formats.
We begin by switching user to root with the command su su followed by the root password. Some of the components need a higher level than sudo. First we do a bit of updating and make sure there are no previous versions of ffmpeg.
cd /usr/src
apt-get update && sudo apt-get upgrade
apt-get remove x264 ffmpeg
Then we install some tools
apt-get install joe make automake g++ bzip2 unzip patch subversion git yasm
apt-get install yum yum-utils
curl -O https://www.nasm.us/pub/nasm/releasebuilds/2.13.01/nasm-2.13.01.tar.gz tar xzvf nasm-2.13.01.tar.gz cd nasm-2.13.01 ./configure --prefix=/opt/nasm make sudo make install export PATH=/opt/nasm/bin/:$PATH Now we’ll extend the library paths in the following file by opening it
nano /etc/ld.so.conf
If the following lines are not present, copy and paste them
include /usr/lib
include /usr/local/lib
Then run
ldconfig
Now we’ll install some codecs
apt-get install libsdl1.2-dev zlib1g-dev libfaad-dev libfaac-dev libgsm1-dev libtheora-dev libvorbis-dev libspeex-dev libopencore-amrwb-dev libopencore-amrnb-dev libxvidcore-dev libxvidcore4 libmp3lame-dev libjpeg62 libjpeg62-dev
x264
If you get the response that nasm must be version 2.13 or higher, reboot the server with reboot and start again from here. Remember to run as root and not just sudo.
git clone http://git.videolan.org/git/x264.git
cd x264/
./configure --enable-shared --enable-pic —disable-asm
make && make install
cd ..
libvpx
cd /usr/src
git clone https://chromium.googlesource.com/webm/libvpx
cd libvpx
./configure --enable-shared --enable-pic
make
make install
cd ..
FFMPEG
wget https://ffmpeg.org/releases/ffmpeg-4.3.tar.gz
tar -xvzf ffmpeg-4.3.tar.gz
cd ffmpeg-4.3
./configure --enable-gpl --enable-version3 --enable-shared --enable-nonfree --enable-postproc --enable-libmp3lame --enable-libopencore-amrnb --enable-libopencore-amrwb --enable-libtheora --enable-libvorbis --enable-libvpx --enable-libx264 --enable-libxvid
make
make install
ldconfig
qt-faststart
cd tools
make qt-faststart
cp qt-faststart /usr/local/bin/
cd /usr/src
ImageMagick
apt-get install imagemagick
apt-get install php-imagick
phpenmod imagick
We have now installed everything related to FFMPEG and we move on. We can log out as root and switch back to the user vpsuser with
exit
5. MySQL - create database
Now it’s time to create our MySQL database which we’ll use for our site.
First log in to MySQL as the root MySQL user with its password
mysql -u root -p
Now create the database, where you should replace namn-på-din-databas with the name you want to use and databasanvändare and lösenord with the database user and password.
CREATE DATABASE namn-på-din-databas DEFAULT CHARACTER SET utf8 COLLATE utf8_unicode_ci;
GRANT ALL ON namn-på-din-databas.* TO 'databasanvändare'@'localhost' IDENTIFIED BY 'lösenord';
FLUSH PRIVILEGES;
EXIT;
Now your database is up and ready to be used.
6. PHP - settings for large uploads
We need to change some settings in our PHP configuration file so we can allow uploads of video files of several GB and prevent the script (PlayTube) from timing out during uploads.
This is done in the php.ini file
Open php.ini
sudo nano /etc/php/7.4/fpm/php.ini
Search and change the settings so they match those below. These settings allow uploads of files up to 2 GB. Shortcut to search in nano is ctrl + w
file_uploads = On
post_max_size = 2024M
upload_max_filesize = 2024M
output_buffering = Off
max_execution_time = 6000
max_input_vars = 5000
max_input_time = 7000
zlib.output_compression = Off
When you’ve saved this, restart PHP-FPM with
sudo service php7.4-fpm restart
7. nGinx - settings for your website and Playtube
Now it’s time to make our settings in nGinx to get your site working. I will not go through how to set up SSL and the like here — I assume you either know this or can Google it.
In the configuration file I include SSL settings so you can base yours on these. Here we cover the settings required to get Playtube to work.
We start by creating a new folder for our site; in my case it’s eduTV, so I’ll use that in the example. Create a folder called edutv.se. Inside that folder I create two more folders; one called public where all the files that should be web-accessible are located and another called logs where we can store log files if we want.
sudo mkdir /var/www/edutv.se
sudo mkdir /var/www/edutv.se/public
sudo mkdir /var/www/edutv.se/logs
We give ownership of these folders to the www-data user
sudo chown -R www-data:www-data /var/www
playtube.conf
The nGinx configuration file that comes with Playtube does not work. So we create our own file called playtube.conf with the correct values.
sudo nano /etc/nginx/snippets/playtube.conf
Copy the following and paste it in. Save the file.
### PlayTube ###

    location / {
    if (!-e $request_filename){
    rewrite ^/$ /index.php?link1=home;
    }
    if (!-e $request_filename){
    rewrite ^/aj/([^/.]+)/?$ /ajax.php?type=$1&first=$2;
    rewrite ^/aj/([^/.]+)/([^/.]+)/?$ /ajax.php?type=$1&first=$2;
    rewrite ^/aj/([^/.]+)/([^/.]+)/([^/.]+)/?$ /ajax.php?type=$1&first=$2&second=$3;
    }
    rewrite ^/@([^\/]+)(\/|)$ /index.php?link1=timeline&id=$1;
    if (!-e $request_filename){
    rewrite ^/([^\/]+)(\/|)$ /index.php?link1=$1;
    }
    }

    location /reset {
    rewrite ^/reset-password/([^\/]+)(\/|)$ /index.php?link1=reset-password&code=$1;
    }

    location /confirm {
    rewrite ^/confirm/(.*)/(.*)$ /index.php?link1=confirm&code=$1&email=$2;
    }

    location /api {
    rewrite ^/api/v(([0-9])([.][0-9]+))(\/|)$ /api.php?v=$1;
    }

    location /admin {
    rewrite ^/admin-cp$ /admincp.php;
    rewrite ^/admin-cp/(.*)$ /admincp.php?page=$1;
    }

    location /admin-cdn/ {
    alias /admin-panel/;
    }

    location /videos {
    rewrite ^/videos/category/(.*)/rss(\/|)$ /index.php?link1=videos&page=category&id=$1&feed=rss;
    rewrite ^/videos/category/(.*)$ /index.php?link1=videos&page=category&id=$1;
    rewrite ^/videos/(.*)/rss(\/|)$ /index.php?link1=videos&page=$1&feed=rss;
    rewrite ^/videos/(.*)$ /index.php?link1=videos&page=$1;
    }

    location /articles {
    rewrite ^/articles(\/|)$ /index.php?link1=articles;
    rewrite ^/articles/category/(\d+)(\/|)$ /index.php?link1=articles&category_id=$1;
    rewrite ^/articles/read/(.*)(\/|)$ /index.php?link1=read&id=$1;
    }

    location /edit {
    rewrite ^/edit-video/(.*)?$ /index.php?link1=edit-video&id=$1;
    }

    location /watch {
    rewrite ^/watch/([^\/]+)(\/|)?$ /index.php?link1=watch&id=$1;
    rewrite ^/watch/([^\/]+)/list/([^\/]+)(\/|)?$ /index.php?link1=watch&id=$1&list=$2;
    }

    location /embed {
    rewrite ^/embed/(.*)?$ /index.php?link1=embed&id=$1;
    }

    location /resend {
    rewrite ^/resend/(.*)/(.*)?$ /index.php?link1=resend&id=$1&u_id=$2;
    }

    location /redirect {
    rewrite ^/redirect/(.*)?$ /index.php?link1=redirect&id=$1;
    }

    location /settings {
    rewrite ^/settings/(.*)/(.*)$ /index.php?link1=settings&page=$1&user=$2;
    rewrite ^/settings/(.*)$ /index.php?link1=settings&page=$1;
    }

    location /terms {
    rewrite ^/terms/([^\/]+)(\/|)$ /index.php?link1=terms&type=$1;
    }

    location /go_pro {
    rewrite ^/go_pro(\/|)$ /index.php?link1=go_pro;
    }

    location /ads {
    rewrite ^/ads(\/|)$ /index.php?link1=ads;
    rewrite ^/ads/create(\/|)$ /index.php?link1=create_ads;
    rewrite ^/ads/edit/(\d+)(\/|)$ /index.php?link1=edit_ads&id=$1;
    }

    location /contact {
    rewrite ^/contact-us(\/|)$ /index.php?link1=contact;
    }
edutv.se
Now we’ll make our settings for our site. I’ll create a configuration file for my site edutv.se — name yours whatever you want.
Start by creating the file
sudo nano /etc/nginx/sites-available/edutv.se
Copy and paste the following. Of course change paths to your SSL files so they match your setup. I have my SSL certificates in /etc/nginx/ssl. If you have them elsewhere, change that too. You must also change anything related to domain names and such. This is a basic setup you can build on.
server {
    listen 80;
    server_name edutv.se www.edutv.se;
    return 301 https://edutv.se$request_uri;
}

server {
    listen [::]:443 ssl http2 ipv6only=on;
    listen 443 ssl http2;
    server_name edutv.se;

    add_header Strict-Transport-Security "max-age=15768000" always;

    server_tokens off;
    server_name_in_redirect off;

    reset_timedout_connection on;
    ssl_certificate /etc/nginx/ssl/dinsajt.crt;
    ssl_certificate_key /etc/nginx/ssl/dinsajt.key;
    ssl_session_timeout  10m;
    ssl_prefer_server_ciphers on;
    ssl_protocols TLSv1 TLSv1.1 TLSv1.2;
    ssl_session_cache shared:SSL:10m;
    ssl_ciphers EECDH+CHACHA20:EECDH+AES128:RSA+AES128:EECDH+AES256:RSA+AES256:EECDH+3DES:RSA+3DES:!MD5;
    keepalive_timeout   70;

    error_log /var/www/edutv.se/logs/error.log;
    access_log /var/www/edutv.se/logs/access.log;

    root /var/www/edutv.se/public;
    autoindex off;
    index index.php index.htm index.html;

    client_max_body_size 2024M;

    location ~* .(ico|jpg|webp|jpeg|gif|css|png|js|ico|bmp|zip|woff)$ {
    access_log off;
    log_not_found off;
    add_header Pragma public;
    add_header Cache-Control "public";
    expires 14d;
    }

    gzip on;
    gzip_disable "msie6";
    gzip_vary on;
    gzip_proxied any;
    gzip_comp_level 6;
    gzip_buffers 16 8k;
    gzip_http_version 1.1;
    gzip_types application/javascript application/rss+xml application/vnd.ms-fontobject application/x-font application/x-font-opentype application/x-font-otf application/x-font-truetype application/x-font-ttf application/x-javascript application/xhtml+xml application/xml font/opentype font/otf font/ttf image/svg+xml image/x-icon text/css text/javascript text/plain text/xml;

    location ~* .(ico|jpg|webp|jpeg|gif|css|png|js|ico|bmp|zip|woff)$ {
    access_log off;
    log_not_found off;
    add_header Pragma public;
    add_header Cache-Control "public";
    expires 14d;
    }

    location ~ \.php$ {
    include snippets/fastcgi-php.conf;
    fastcgi_pass unix:/var/run/php/php7.4-fpm.sock;
    }

    location ~ /\.ht {
    deny all;
    }

    # Include configuration files
    include /etc/nginx/snippets/playtube.conf;
}
We finish with the following — of course change the file name if you named your configuration something else.
sudo ln -s /etc/nginx/sites-available/edutv.se /etc/nginx/sites-enabled/edutv.se
Now test whether our nGinx configuration is OK with
sudo nginx -t
and hopefully everything looks good. Reload the nGinx server now that everything checks out with
sudo service nginx reload
and then create a simple index.php to check that our domain works and we have SSL.
sudo nano /var/www/edutv.se/public/index.php
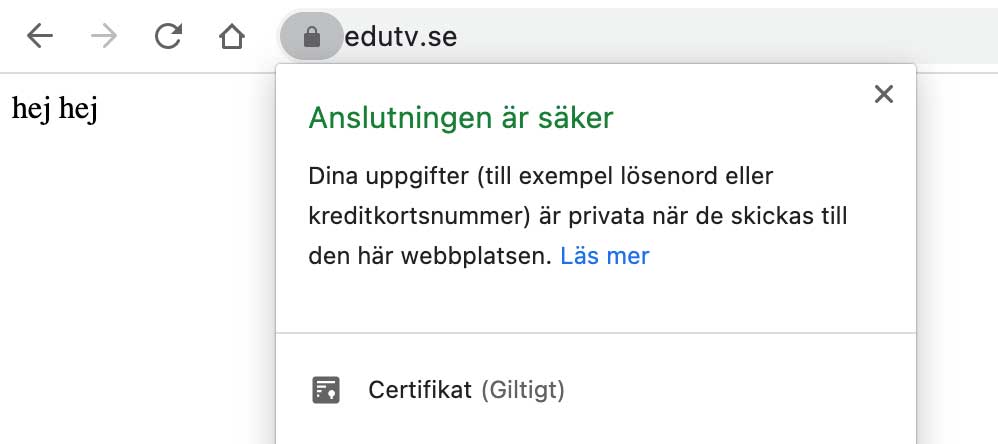
In the file I just write “hello hello” and save. Then open your browser and navigate to your domain, in my case edutv.se.
If everything works you’ll be greeted by the following, showing our text and that we have the padlock — and that the connection is secure.
 Now everything is ready and it’s time to install Playtube.
8. Install Playtube
Now we’re almost done and just need to install the Playtube script. Since documentation on how to install this is included in the Playtube package, I won’t go into that in depth. This is the easy part, since we’ve already done all the prep work.
The first thing we do is upload the files to our web server. I do this via SFTP and I use FileZilla as my FTP client.
Log in with the www-data account and its password. Upload all files in the local Playtube folder Script to /var/www/edutv.se/public — where you replace edutv.se with the name you gave your folder on the server.

Make sure your folders and files have the correct permissions (folders = 0755 and files = 0644). Then open your browser and go to your URL — in my case edutv.se/install and fill in the information requested.

When you’ve filled in the details and clicked install and finished, delete the install folder on your server. Now you’re done and can log into your site and start exploring all the features. The first thing we do, however, is go to Settings > General Settings and change the settings for FFMPEG. Here we change the path to FFMPEG to /usr/local/bin/ffmpeg
Besides that, you can set how many concurrent processes FFMPEG is allowed to run — i.e. how many videos can be converted simultaneously. This simply depends on how powerful your server is and how often video is uploaded. The more processes, the more CPU usage. The same goes for Convert Video Speed. I have it set to medium.

You can always use the command htop on your server
htop
to monitor resources on your server. Try uploading videos and see how your server is affected.
9. What happens now?
Now it’s really just up to you to tinker around and explore Playtube, set your own logo, create accounts and get started. Of course there’s also a ton of optimization and security work to do regarding the server, nGinx and PHP, but that’s not something I cover here. There’s loads of information about that on the internet. If you have questions or just want to say something, you’re welcome to do so in the comments here or on any social media.