Create your own podcast and publish it to Spotify, Apple Podcasts and Google Podcasts
 Micke Kring
·
·
13 min read
Micke Kring
·
·
13 min read
Are you also keen to start your own podcast but not quite sure how? Here I’ll try to walk through everything you need to do. There’s a bit to think about and some setup to get everything going, but once you’re up and running it’s no harder than publishing a blog post. As long as you have a WordPress site and the ability to install plugins on it, the rest won’t cost anything except your time. When you’re done, you’ll have a webpage for your podcast and it will be available on Spotify, Google Podcasts and Apple Podcasts.
If you’ve been following me for a while you might wonder if you’ve read this before. You almost have — I made a similar tutorial for how to create a podcast (you can find it here) 6 years ago (2014). But a lot has happened since then — and since I’m starting a new podcast myself after 3 years of silence, I figured I might as well document it and make it available for you as a reader.
Contents
- What you need
- Create cover art and descriptive text about your podcast and the podcast name
- Create your pilot episode and possible intro music
- WordPress and Seriously Simple Podcasting
- Publish your podcast on Apple, Spotify and Google
- Add links to your podcast on your WordPress site
- Extra - Statistics
- Good luck with your podcast!
1. What you need
- Computer – I use a Mac, but it’s not required. Win / OSX / Linux all work fine. You can probably do most of it on a tablet, but it’s easier with a computer.
- A WordPress site where you can install your own plugins. Since you’ll also be handling somewhat larger audio files it’s worth checking how large files you can upload. Also check with your web host whether it’s okay to let people download lots of large files and whether there are any bandwidth restrictions. If your podcast gets big many people will download large audio files from your site which generates a lot of traffic.
- A simple image editor.
- A simple audio editor.
- Apple, Spotify and Google accounts so you can add your podcast to those services.
- An idea for your podcast, who it’s aimed at, what you want to get out of it and how you want to promote it. And then just have fun!
2. Create cover art and descriptive text about your podcast and the podcast name
Cover art
We need a picture for our podcast. It must be at least 1400 x 1400 pixels and preferably under 150kB in size. Your “cover” is the graphic part of your podcast and remember the image will be shown as a small thumbnail in different players, so if you’re going to include text (like the podcast name) make sure the text is large and clearly visible. I made it easy on myself and used my profile picture, created a 1400 x 1400 pixel document in Photoshop and added the text.

Descriptive text about your podcast
Here you need a summary of what your podcast will be about — the show itself, not individual episodes. A selling text of a couple of sentences is sufficient. In my case it became “Micke Kring is a person and in this case also a podcast where there will be talk about digitalization - usually in a school context, but sometimes not. But usually. With over 20 years on the shop floor he has seen waves of digitalization wash over the shores of schools and trending buzzwords fly from mouth to belief. The basic idea ranges high to low, but always lighthearted.”
Podcast name
Of course you also need a name for the podcast. Again I made it easy and chose “Micke Kring - Skola & Digitalisering”.
3. Create your pilot episode and possible intro music
When you’re going to publish your podcast to Spotify, Apple and Google (among others) there must already be at least one episode published. That’s why you need to create a “pilot episode”. It should be an episode of a few seconds where you simply welcome everyone and say that your podcast is starting soon. I also fired up GarageBand and created a signature tune for my podcast which I used as my pilot episode. The nice thing about creating your own music is that you avoid copyright issues and the like.
Finally I added my voice over the intro where I present the podcast.
There are tons of programs for editing audio and the ones I use are usually Logic Pro X (OSX/Mac only) and GarageBand (OSX/Mac and iOS). Use the program you’re comfortable with. Then save the audio file as a standard MP3 file.
A few words about recording
Good audio is obviously super important. However it doesn’t have to cost a lot. A good microphone is great to have, but if you don’t know how to use it it won’t matter much. It works perfectly fine to use your regular headset with your iPhone, for example. Also make sure you sit somewhere without too much background noise. I won’t write much about audio editing in this post — that will be a separate post later.
4. WordPress and Seriously Simple Podcasting
To clear up a few concepts to begin with: none of the audio files are stored at Spotify, Apple or Google. We must store our audio and image files on the web ourselves and then create an RSS feed for our podcast. A feed, or feed file, is a file that contains information about where your audio files are located, what the podcast and its episodes are called and basically everything about your podcast. This feed is then submitted to Spotify, Apple and Google and, after approval, they list what’s in your feed. And this is where WordPress comes in — together with Seriously Simple Podcasting, as a tool to handle most of this automatically for us.
So… let’s get started…
Now that you have all the parts — image, name, text and your first podcast episode — it’s time to set up Seriously Simple Podcasting on your WordPress site. As I wrote in the introduction, you need to be able to install plugins. The great thing about using WordPress is that you automatically also have a website for your podcast. It can add value since you can collect links, publish images and other things you refer to in your podcast episodes.
In the admin panel under “Plugins > Add New” you can search for “Seriously Simple Podcasting”


After you’ve installed the plugin it’s time to do our settings.
Seriously Simple Podcasting - Settings
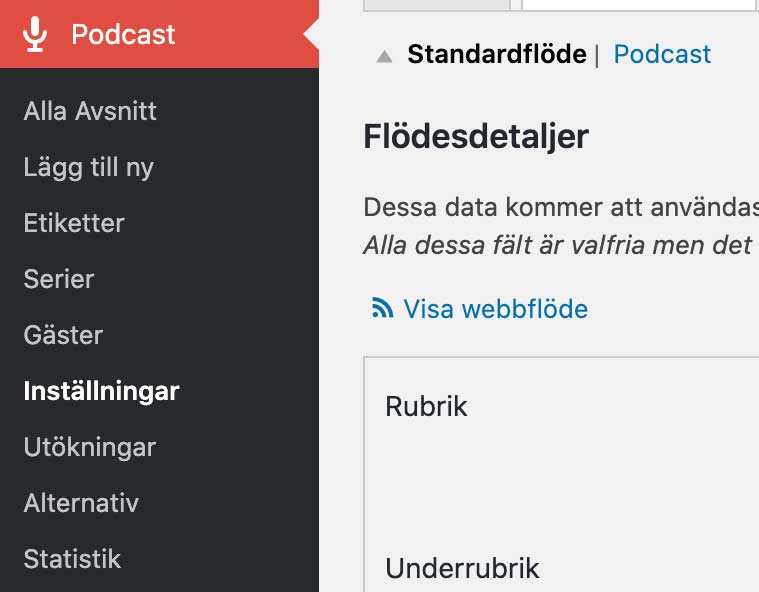
We start by going to “Settings” under “Podcast”. Then click the “Feed Details” tab. Now we’ll fill in the information about our podcast that we worked on in the earlier steps. You can always click to enlarge the images to see what I filled in and what I skipped. Not everything needs to be filled in.

Most of it is self-explanatory, so fill in the “Title”, which is the name of your podcast, and a subtitle. Then it’s time to choose categories. Here you should pick categories that match what your podcast is about. In my case, for example, I want my podcast to be discoverable if someone is looking for podcasts about education.

Scrolling down we find the description, i.e. the text we worked on earlier. Then we upload our podcast image. Fill in the owner’s name and email address. It’s important that this information is correct, as email will be sent from Spotify, Apple and Google to that address to verify that you are you. You can leave the language at “sv-SE” if your podcast is in Swedish.

Fill in the information you want under “Copyright”. It’s important to check “Explicit” if you will have “offensive” content in your podcast. What is considered offensive varies depending on where you want your podcast to be, but if you want to be safe, draw the line at swearing. Under “Source for publication date” I’ve chosen “Publication Date”. That means the publication date is the date my podcast post in WordPress was published. I’ve also chosen “Sporadic” since my episodes will most likely be released sporadically.

At the bottom we’ll add the addresses (URLs) for the different places we want to publish our podcast. Since we haven’t registered our podcast with any service yet, we’ll leave these blank for now. Don’t forget to “Save Settings”!
Seriously Simple Podcasting - Player
Under the “Player” tab you’ll find the visual settings for how the media player on your WordPress site should look and behave. I chose for it to only show for “Full content” and “Above content”, meaning directly under the title of my episode. You can experiment with all these settings to see what works best with your theme and site.
 Don’t forget to save your settings when you’re done!
Seriously Simple Podcasting - Create a first episode
Now it’s time to upload our first episode, the short welcome episode. It’s basically no more difficult than creating a regular post in WordPress. Under “Podcast”, choose “Add New” and there write the name of your episode as the title and add your content. This can be show notes, links to things you talk about, images and other items. This will also be a post on your site.

When you’re done with your content scroll down the page until you see the podcast settings. Here you choose whether it’s an audio or video podcast and upload the audio file (mp3) to your media library. Information like duration and file size is detected automatically by my server. If it’s not for you, you’ll have to fill in those details yourself.

When you’re ready it’s time as usual to “Preview” the post and proofread, test the media player and make sure you’ve included everything you want. If you’re happy, then publish. In my case it looks like this.

Now we have an episode in our podcast and it’s time to get it out to Apple, Spotify and Google.
5. Publish your podcast on Apple, Spotify and Google
Now that we have a podcast containing one episode it’s time to get it out to Apple, Spotify and Google so people can start subscribing and listening. The first thing to do is go to “Podcast” > “Settings” and the “Publishing” tab. There under “Full Web Feed” you’ll find the address to your podcast feed. That’s the address you’ll enter in the services you want to publish to. In my case that address is https://mickekring.se/feed/podcast

Let’s go! I won’t go through every single part of the process, just the most important bits. Each service will guide you through what to do.
Apple Podcasts
Go to https://podcastsconnect.apple.com and log in with your Apple ID.

When you’re logged in you can click the plus sign at the top left.

Then paste/type the address to your feed and click “Validate”. This takes a while, so be patient and wait a minute or so.

When it’s done you should see all the information you entered in WordPress and the podcast plugin. In the image above there’s an error message because I’ve already submitted this podcast. But for you it should hopefully show green. If it does and everything looks good, click “Submit” at the top right to submit your podcast to Apple. Then follow the instructions. You’ll among other things have to verify that you own the podcast by responding to an email sent to the address you entered in the podcast settings. Now it’s just a matter of waiting about 1–2 days until you get an email from Apple that your podcast is approved and available in Apple Podcasts.
Spotify
Go to https://podcasters.spotify.com and log in with your Spotify account.

Click your account at the top left.
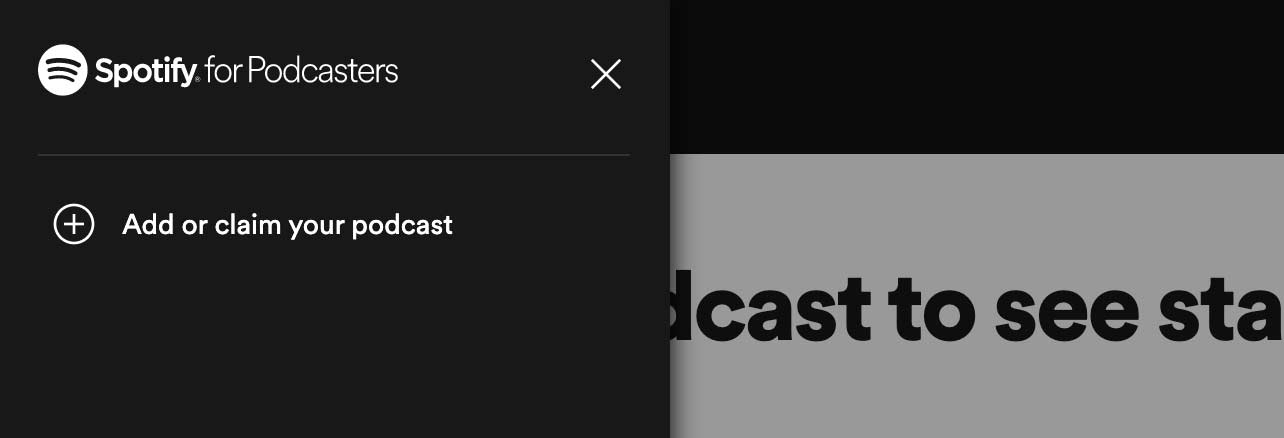
Here choose “Add or claim…”

Click the green “Get started”.
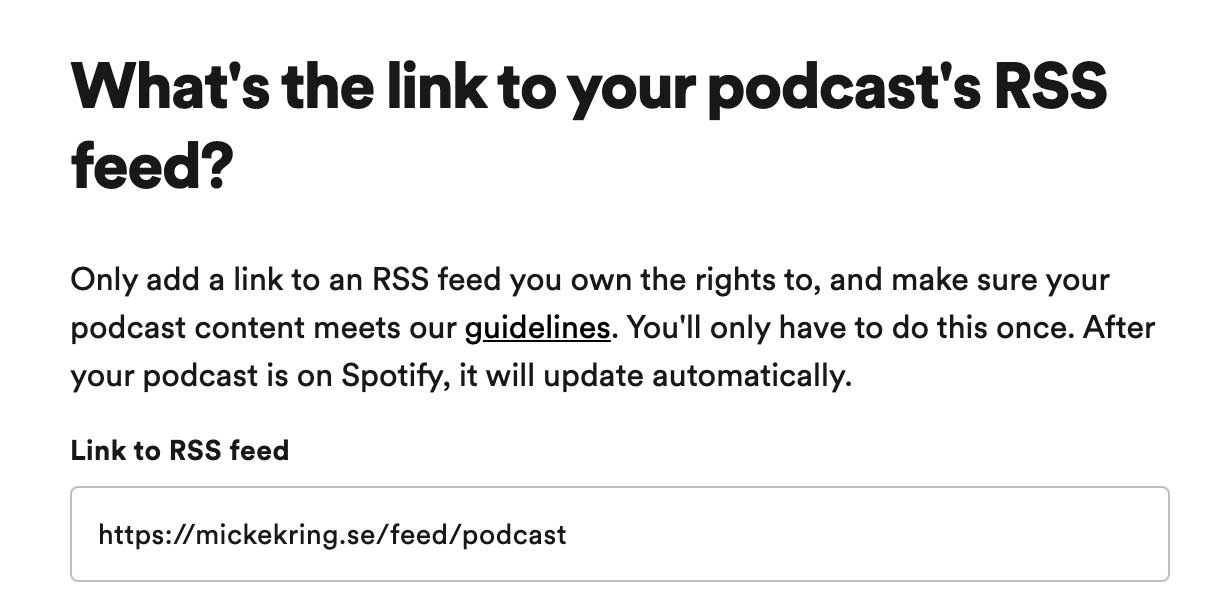
Then add the address to your podcast feed. Click “Next” and follow the instructions. It works pretty much the same way as when you added your podcast to Apple. After that it can take anything from a few hours to a day before your podcast is approved and searchable on Spotify.
Google Podcasts
Go to https://podcastsmanager.google.com and log in with your Google account.

If you don’t have any podcasts registered yet just click the blue “Start now” button.

By now you’re probably starting to recognize the flow. Paste the address to your podcast feed again. Then click “Next step” and continue to follow the instructions. For me Google was the service that took the longest to approve my podcast. It took about 4 days before I got an email that the podcast had been added.
6. Add links to your podcast on your WordPress site
Now that your podcast is available on the various services you can copy the links to your podcast and paste them into the podcast settings on your WordPress site. On Spotify you find the link by finding your podcast, clicking the menu (the circle with three dots), choosing “Share” and “Copy show link”.

Go back to your WordPress site and “Podcast”, “Settings”, the “Feed Details” tab and scroll to the bottom of the page. Then paste in the respective address (URL) to your podcast under the services you chose. In my case, Apple Podcasts, Google Podcasts, Spotify and also the RSS link if the user wants to use a different player.

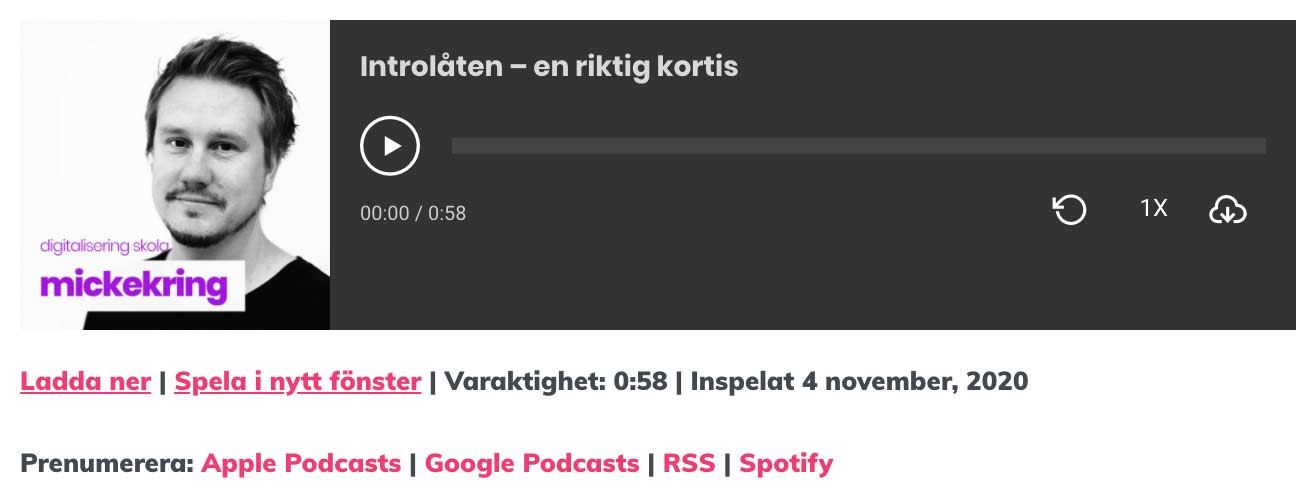
When you’re happy click “Save Settings”. In the image below you can see how the media player on our WordPress site looks, with subscription links underneath.
7. Extra - Statistics
You’re basically done now and from here on it’s just a matter of publishing podcast posts. Everything else takes care of itself. However, I wanted to include a tip about an extra plugin for Seriously Simple Podcasting, namely Seriously Simple Stats. Stats gives you simple statistics as in the image below and it’s installed the same way as other plugins. You also see which sources your listens come from. Of course you can log in to the different services where you’ve published your podcast to get more detailed information, but it’s nice to have one place to see your stats.

8. Good luck with your podcast!
I hope you picked up a tip or two and that you succeed with your podcast. Make sure to have fun now! Feel free to post the link to your podcast in the comments here if you like.